
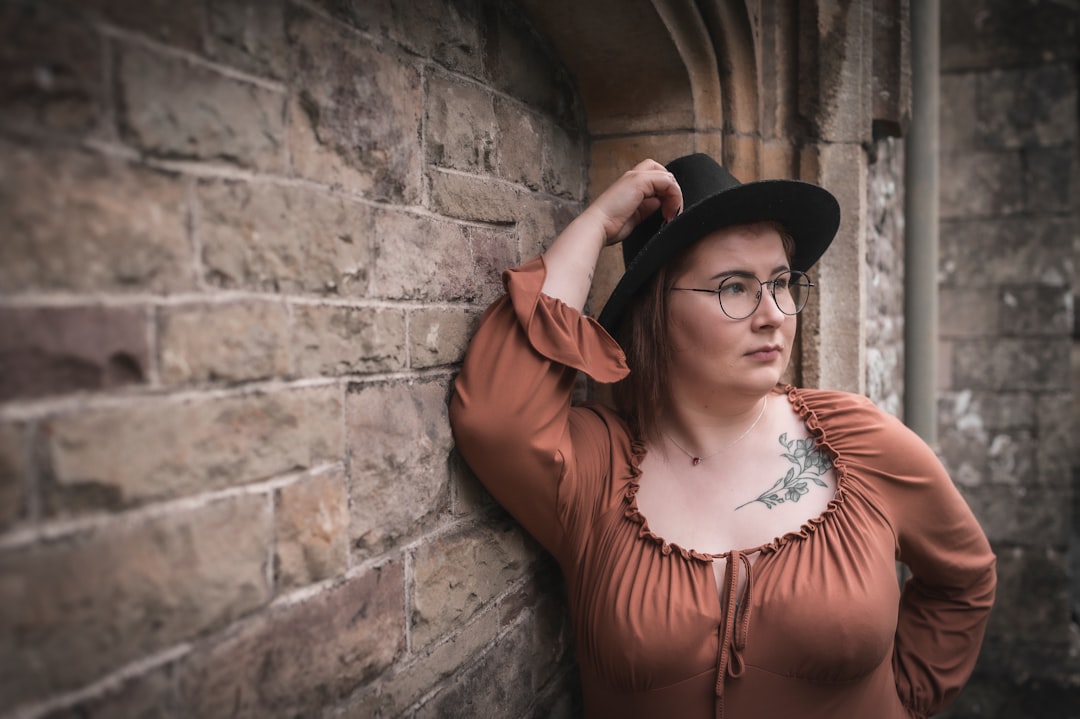
Plus-size client posing is not a separate discipline from regular portrait posing — it is regular portrait posing done with attention to angle, light, and wardrobe in ways that work for every body. A photographer who treats plus-size clients as just “regular clients with thoughtful technique” will deliver flattering, confidence-affirming portraits without making the session feel different. This guide covers plus-size client posing for photographers and offers wardrobe and prep guidance for clients booking a session.
TL;DR
- Plus-size posing is not about hiding — it is about angle, weight distribution, and lighting that flatters any body.
- Lighting from above and slightly to the side creates definition; flat front lighting flattens every body and never flatters a plus-size client.
- Wardrobe consultation before the session is the single highest-impact prep step. Most “I look bad in photos” feelings trace to wardrobe fit, not to the body.
- Direction matters more than poses. Use clear, kind verbal cues; show poses on yourself first, never demonstrate on the client’s body.
- Clients have full agency over angles, body parts in frame, and final image selection — establish this in the contract.
The starting principle: client agency
Plus-size client posing starts with the client’s preferences, not the photographer’s defaults. Some clients want their full body in every frame; others prefer three-quarter framing; others prefer headshots and detail frames. None of these preferences are “right” or “wrong” — they reflect what the client wants to see in their final gallery.
The photographer’s job is to ask, document the answer, and shoot accordingly. A pre-session questionnaire that asks “are there angles, body parts, or framings you’d like me to avoid or emphasize?” gets better answers than guessing on the day. It also signals respect, which builds the trust that produces the best portraits.
Lighting that flatters every body
The single biggest leverage point in plus-size client posing is lighting. Flat front lighting flattens every body, regardless of size — but on plus-size clients it creates a particularly unflattering look because the natural shadows that define jawline, neck, and waist disappear.
Light from above and to the side
The general rule: place the key light slightly above the client’s eye line and at 30 to 45 degrees off-axis. This creates a soft shadow under the jaw (defining the chin), down the side of the neck (defining the neckline), and along the side of the body (defining the waist). The shadow does the work that posing alone cannot.
Use a fill that doesn’t kill the shadow
A bounce card or low-power fill light brings detail back into the shadow side without erasing it. Aim for a 2:1 or 3:1 contrast ratio — bright key, gentle fill, never equal-power both sides.
Window light is excellent
Natural window light at 30 to 45 degrees off the client’s body, with the client turned slightly into the light, produces almost ideal portrait light for plus-size clients. North-facing windows in the morning, or any window in soft overcast light, work without modification.
Plus-size client posing: angle and weight distribution basics
Once lighting is right, posing principles that work for every body apply with extra benefit to plus-size clients:
Turn the body, not the face
A body turned 30 to 45 degrees off the camera, with the face turned back toward the lens, is the universal flattering portrait pose. It narrows the visual width of the torso without distorting the face. This works at every size.
Push the chin forward and down
The “turtle neck” cue — chin forward, then slightly down — defines the jawline and reduces any double-chin visibility. Demonstrate it on yourself first: “Like this, push your chin out and then bring it down a touch.” Showing is faster than describing.
Weight on the back foot
Standing poses look better with weight shifted to the back foot, hip popped, front leg slightly bent. This creates an S-curve in the body and avoids the planted, frontal “ID photo” stance that flatters no one.
Hands away from the body
Hands pressed flat against the side of the body squash and add visual width. Hands held out — touching hair, holding a bag, on a hip with the elbow extended away — create air around the body that reads as movement and elegance.
Sit at the front edge of the chair
Seated portraits work when the client sits at the front edge of the chair with the back straight. Slumping into a chair shortens the torso and creates pressure on the waistline.
The “elongate” cue
The single most useful verbal direction is “elongate the spine.” It pulls the shoulders back, lengthens the neck, and adjusts the whole body posture in one cue. Use it often.
Wardrobe consultation
Most plus-size clients arrive at a session with anxiety about wardrobe — and the photographer who offers a 20-minute wardrobe consultation a week before the shoot transforms the session. The consultation can be a phone call or a video call; the goal is to look at three to five outfit options and discuss what works for the planned light and location.
What works for plus-size portraits
Tailored fit at the waist, even when the rest of the garment is loose. Garments that hint at the body’s shape rather than draping shapeless over it. Solid colors or simple patterns; busy patterns can compete with the face.
Necklines that reveal collarbone — V-necks, scoop necks, square necks — extend the visual line of the neck and create elegance. High crew necks shorten the neck visually and rarely flatter.
Layered looks (a structured jacket over a fitted top, a long cardigan over a dress) create vertical lines that lengthen the body. Belts at the natural waist define the figure without constricting.
Footwear that matches the outfit and supports the planned poses. High heels can be uncomfortable for a 90-minute session; ask in advance and have a backup pair.
What to avoid
Garments that bunch or pull at the seams when the client moves. The seams visible in the final image will distract from the face. If a garment looks fine standing still but pulls when the client raises an arm, choose something else.
Stiff or boxy outerwear that adds visual width without adding shape. Tailored, structured pieces work; oversized boxy pieces rarely do.
Bright white tops in bright outdoor light — they blow out and pull all attention from the face. Off-white, cream, or muted color works better.
Direction and language during the session
The photographer’s verbal direction during the session matters as much as the technique:
Show poses on yourself first. Demonstrate the pose with your own body, then ask the client to mirror. Never grab or place the client’s body. If you need to adjust a hand or angle, ask first: “May I show you what I mean? I can demonstrate, or I can describe it.”
Praise specifically. “That angle of your head is perfect” works. Generic “you look great” feels rote. Specific praise during the session builds confidence and you see it in the next frame.
Show the back of the camera. After the first ten frames, show the client a few selects on the camera back. Plus-size clients often arrive expecting to look bad in photos. Seeing themselves looking good in the first ten frames resets the entire session’s energy.
Avoid body-comparative language. Don’t say “you’re not as big as you think” or “you look smaller than I expected.” Both are intended as compliments and both undermine the client’s relationship with their body. Say “you look great” or describe a specific compliment instead.
Wedding and family contexts
The same principles apply to plus-size clients in wedding photography and family sessions. For wedding photography, the bride’s preferences set the brief — see our notes on wedding photography styles compared for the broader stylistic landscape. For family group photos with plus-size members, our group photo posing guide and family photography posing guide apply directly. Maternity sessions for plus-size clients benefit from the same lighting and angle work; our maternity posing guide includes specific notes.
Quick checklist for photographers
| Stage | Action |
|---|---|
| Pre-booking | Show portfolio with plus-size clients; ask preferences in writing |
| Pre-session | Wardrobe consultation 1 week ahead |
| Session start | Confirm preferences; show pose on yourself first |
| First 10 frames | Show camera back; reset energy; praise specifically |
| Lighting | Key light 30–45 degrees off-axis, above eye line |
| Posing | Body 30–45 degrees turned, chin forward and down, weight on back foot |
| Direction | “Elongate the spine”; demonstrate poses on yourself |
| Editing | Light retouching only; never alter body shape without explicit consent |
A note on retouching
Retouching plus-size clients should default to the same level applied to any other client — light skin work, color grading, basic frame cleanup. Body alteration (slimming, smoothing, reshaping) should only be done if the client explicitly requests it. Many photographers offer two delivery options: a default natural edit and an optional “magazine-style” retouched set. Either way, the choice belongs to the client.
Closing
Plus-size client posing is craft built on respect. Lighting that creates definition, wardrobe that fits, direction that demonstrates rather than dictates, and editing that affirms the client’s agency — these add up to a portrait session the client wants to print, not avoid. Browse our portrait photography hub or wedding photography hub to find photographers who shoot plus-size clients well.