
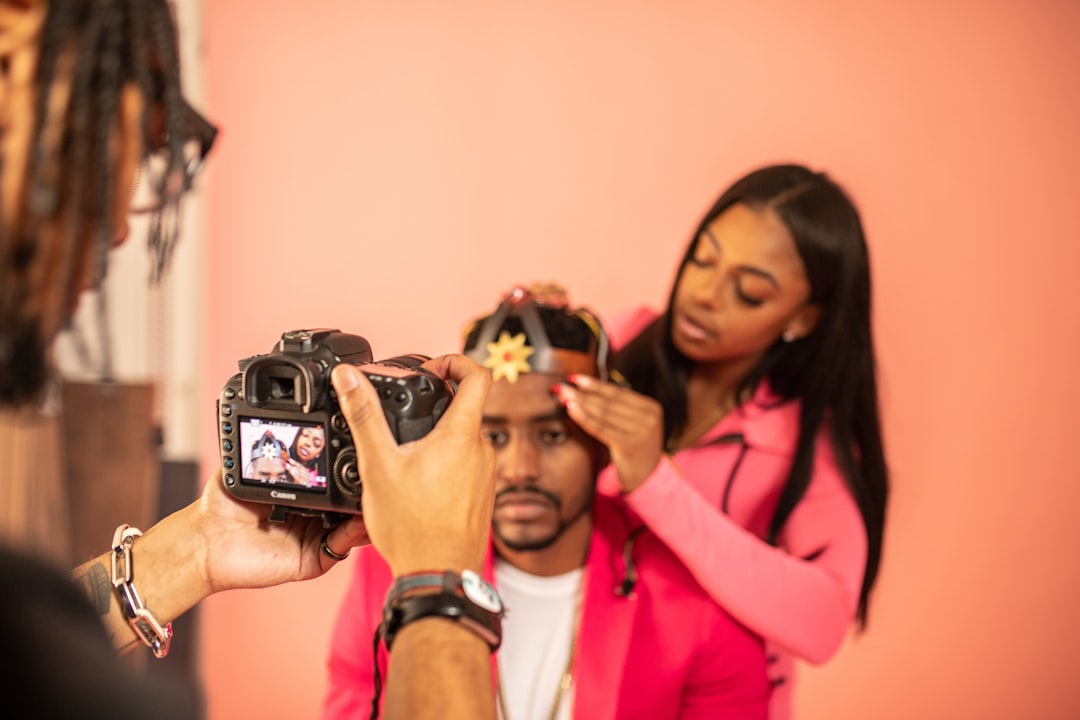
A headshot session is 30 minutes of work that represents itself for the next two to five years. The prep work in the 48 hours before the session decides most of how the gallery turns out — not the gear, not the lighting, not even the posing. Knowing how to prepare for a headshot is mostly about controlling the variables you can control: sleep, hydration, skin, wardrobe, and showing up calm. This guide walks through every prep decision, from the week-before skincare through the morning-of routine, plus the multiple-outfit strategy that gets the most out of a short session.
TL;DR
- Sleep eight hours the two nights before. Water all day. It shows in the eyes.
- Bring three outfits minimum — more crops per hour of session time.
- Skip exfoliating, new skincare, and new haircuts in the 72 hours before.
- Eat a real breakfast with protein. Avoid salt and alcohol the day before.
- Arrive 15 minutes early. Rushed subjects photograph rushed.
How to Prepare for a Headshot: Start a Week Out
The prep window for a headshot session starts about seven days before the session. Decisions made in that window — haircuts, skincare, sleep habits, outfit selection — show in the final frames in ways most subjects underestimate. Knowing how to prepare for a headshot properly means treating the week before the session as part of the session itself.
Seven Days Before: The Haircut Question
If a haircut is planned, it should happen 7 to 10 days before the session, not the day before. A fresh cut reads fresh in photos — the edges are too sharp, the shape too manicured. A week of settling softens the cut without letting it grow out.
For anyone with color treatment, same rule: touch-ups 10 to 14 days before the session. Freshly colored hair often has extra sheen that looks unnaturally glossy on camera.
For anyone who’s unsure about a haircut change: don’t. A new hairstyle a week before a two-year-use photo is high variance. Stick with the familiar.
Five Days Before: Skincare Freeze
Stop all experimentation with skincare five days out. No new products, no new actives (retinoids, AHAs, BHAs starting fresh), no facials, no extractions, no peels. Even products the subject has used before — retinol, vitamin C — should be paused three days before if they’re ever irritating.
What to continue:
Moisturizer (the current, familiar one).
Sunscreen daily.
Gentle cleanser.
Lip balm.
What to pause:
Exfoliants (physical or chemical).
Retinoids if not already tolerated.
Spot treatments stronger than usual.
Any new product of any kind.
Skincare reactions take 48 to 72 hours to fully surface. A product that looks fine Monday night can produce a breakout Thursday morning — exactly the wrong timing.
Three Days Before: Start Sleep Discipline
Sleep debt accumulates visibly in the eyes. The two most common signs — puffiness and dark circles — can’t be fully edited out and definitely can’t be fixed at 7am the day of.
The discipline: eight hours of sleep the two nights before. That usually means going to bed 30 minutes earlier than normal. Avoid alcohol both nights — it disrupts sleep quality even at one-drink doses, and it also causes face puffiness the next morning.
For subjects who historically sleep poorly: magnesium before bed, no screens in the hour before sleep, cooler bedroom temperature. Not gimmicks — the cumulative effect matters.
Two Days Before: Hydration and Salt
Skin that looks hydrated photographs better than skin that doesn’t. The window for visible hydration is about 48 hours — drinking an extra glass of water the morning of doesn’t undo a dry week.
The rule: 2.5 to 3 liters of water a day for the 48 hours before the session. Herbal tea counts. Coffee counts at half its volume.
The parallel rule: reduce salt. Salty food causes water retention that shows as a puffier face the next morning. Skip takeout, skip restaurant meals, skip processed snacks for the 48-hour window. Home-cooked meals with fresh ingredients.
Alcohol deserves its own bullet: skip it entirely for 48 hours. No exceptions. Alcohol dehydrates, disrupts sleep, and causes next-day face puffiness — the triple-penalty on headshot prep.
One Day Before: The Dress Rehearsal
The day before the session is not the day to test new things. It’s the day to confirm the things you’ve already planned.
What to do:
Try on every planned outfit. Take phone photos in mirror light. Assess fit, wrinkles, visible underlayers.
Iron or steam every outfit. Hang each separately with its specific shirt, tie, jewelry, and shoes.
Trim nails, clean under nails. Close-crop headshots with hands visible will feature nails.
Pack the session bag (full list below).
Confirm the address, parking, and arrival time with the photographer.
Get to bed early.
What not to do:
New haircut or beard trim.
Try a new makeup look.
Test a new moisturizer.
Go to a bar.
Eat a high-sodium meal.
Stay up late stressing about the session.
Outfit Strategy: Bring More Than You Think
A 30-minute headshot session can accommodate three to four outfit changes comfortably. Most subjects bring one outfit and end up with a single-note gallery. The multi-outfit strategy produces a much more useful deliverable.
Why multiple outfits matter:
Different outfits serve different platforms — LinkedIn, company bio, speaker deck, conference badge, press kit.
Variety in the gallery means the subject can rotate images every year or two without needing a re-shoot.
Different outfits flatter in different light conditions — the photographer can pick the outfit that matches the light.
The three-outfit default:
Outfit 1 — Standard professional. The safe, versatile option. Navy blazer with a crisp shirt, a solid-color sheath dress, a fitted knit top with a blazer. Works for LinkedIn, any corporate bio, most use cases. This is the outfit that gets the most photo count.
Outfit 2 — Elevated / polished. A notch dressier. A structured blazer with a silk top, a pattern (subtle) with a tailored trouser, a dress with a statement jacket. For leadership-level roles, speaker bios, and press photos.
Outfit 3 — Approachable / casual. A soft knit, a collared shirt without a tie, a simple sweater. For personal-brand platforms, creative industries, and warmer communication settings.
For founders and executives who need more variety, four outfits is reasonable in a 45-minute session. Five starts to eat into shooting time.
Color Choices for Outfits
The three color families that consistently photograph well for headshots:
Cool neutrals. Navy, charcoal, cream, soft white, gray. Safe for almost any role. Pairs with most backgrounds.
Earth tones. Rust, olive, camel, deep brown. Works for creative industries and anyone who wants warmth in the photo.
Jewel tones. Emerald, burgundy, deep teal, muted mustard. Adds a point of color without being loud. Photographs well for tech founders and senior leaders who want to stand out in a LinkedIn grid.
What to avoid:
Pure white (blows out, looks like an undershirt).
Pure black (crushes into shadow, hides jaw definition).
Neon or hot pink (color-casts on skin).
Tight stripes and fine checks (moire patterns).
Bold patterns that dominate the frame.
Logos of any kind.
Jewelry, Watches, Glasses
Minimal is the rule for headshots. A simple watch, small stud earrings, one delicate necklace, a signet or heirloom ring. Statement jewelry pulls the eye away from the face at the small sizes most headshots are displayed at.
Glasses:
Clean them properly before the session. Visible smudges, fingerprints, and dust show on camera at professional sharpness.
Bring the glasses case. The photographer may ask for frames with and without glasses — having both options is useful.
Anti-reflective coating is your friend. Frames with AR coating photograph cleaner under softbox lighting.
Watches: if visible, a classic leather, metal, or simple sport band works. Smart watches read casual and date the photo to a specific tech era.
The Morning-Of Routine
A workable morning-of routine for an 11am session:
7:00am — Wake up. Drink 16oz of water.
7:15am — Light stretching or a walk to reduce morning face puffiness.
7:30am — Shower. Wash hair if applicable.
8:00am — Breakfast with protein. Eggs, Greek yogurt, oatmeal with nut butter. Skip high-sodium foods and sugary cereals.
8:30am — Skincare: gentle cleanse, moisturize, sunscreen. No new products.
9:00am — Hair and makeup. Light makeup — matte foundation, defined brows, one feature (eyes or lips). Hair styled how it’s normally worn.
9:45am — Dress in the first outfit. Pack the other two in a garment bag or hanging cover.
10:15am — Final lint roll, shoes on, leave for location.
10:45am — Arrive at location. Restroom stop. Breathing reset.
11:00am — Session begins.
The buffer at arrival matters. A subject who arrives 15 minutes early looks calm in the opening frames. A subject who arrives exactly on time carries stress through the first ten frames.
Makeup for Headshots
Lighter-than-evening is the headshot rule. Camera flash amplifies everything — a light contour reads as a heavy contour on screen.
What works:
Matte or satin foundation. Dewy finishes read shiny on camera.
Defined but natural brows. Thick-filled brows read cartoonish at close crop.
Subtle eye makeup. One emphasis — eyeliner or mascara or shadow, not all three at full strength.
Neutral lip with a stain. Gloss catches light and can read wet on camera.
Minimal highlighter. A lit-from-within glow is great; a shimmering highlight reads over-done.
No false lashes unless they’re natural-looking individuals. Strip lashes with visible glue bands show.
For subjects uncertain about their own makeup skills: book a professional makeup artist for the morning of. Many studios offer this as an add-on. It’s particularly worth it for a session that will produce two-to-five years of use.
The Session Bag
What to pack:
All three (or four) outfits, each on a separate hanger.
All accessories paired with each outfit in labeled bags.
Lint roller.
Steam wand or travel iron (if outfits wrinkle).
Blotting papers (for shine on the nose and forehead).
Water bottle.
Protein bar or light snack.
Breath mints.
Hair comb and hairspray.
Makeup pouch for touch-ups (powder, mascara, lipstick).
Glasses case.
Phone charger.
Deodorant (especially if wearing a colored shirt).
Stain pen.
A small fan or cooling towel for hot-weather arrivals — sweat-shiny skin is hard to recover.
In the Session: The Subject’s Job
Prep delivers the subject to the session ready. The session itself is then the photographer’s domain — their posing, lighting, and coaching. The subject’s job during the session is narrower:
Listen to direction. Resist the urge to self-coach.
Blink fully between frames. Held eyes look dead.
Breathe slowly. Tense breath shows in the jaw and shoulders.
Let the expression move. Don’t freeze a smile.
Trust the photographer. They’ve shot hundreds of these.
The headshot poses for business professionals guide covers what the photographer should be directing. The subject doesn’t need to memorize it — the photographer does. The subject just needs to respond.
Quick Reference Table
| When | What |
|---|---|
| 7–10 days before | Haircut / color if needed |
| 5 days before | Stop all new skincare |
| 3 days before | Begin sleep discipline |
| 2 days before | Hydration + low-salt eating starts |
| 1 day before | Try on every outfit, iron, pack the bag |
| Night before | Early bedtime, no alcohol |
| Morning of | Water, real breakfast, minimal makeup, arrive 15 min early |
Common Mistakes
What shows up most often in re-shoot requests:
Late-night bedtime the day before. Shows in the eyes.
Alcohol the night before. Shows as facial puffiness.
Heavy dinner the night before. Shows as bloating.
New makeup product tested morning-of. Shows as blotchy or unexpectedly colored.
Rushed arrival. Shows as tense shoulders in the first 20 frames.
Only one outfit. Produces a one-note gallery.
Bold lipstick that doesn’t match the rest of the palette.
Visible hair tie on the wrist (shows in three-quarter crops).
Forgetting to clean glasses.
Chipped nail polish.
Booking the Right Photographer
Prep matters, but it can’t compensate for a mismatched photographer. Corporate headshots, creative personal branding, and acting headshots all require slightly different photographers. Vet for the use case.
For LinkedIn and corporate use, specialists are common in most major markets — New York headshot photographers and Chicago headshot photographers both include shooters who specialize in executive headshots specifically. For a broader intro to the category, the corporate headshot guide walks through the vetting criteria in more depth.
When it comes time to book, browsing a curated headshot photographers hub is the fastest way to compare styles and pricing before committing. The right shooter matched with the right prep produces a gallery that genuinely serves the subject for years.
Closing
A headshot session is a small window of work with a long shadow. The prep list in this guide is not glamorous — sleep, water, outfit selection, early bedtime — but it’s the controllable variables that actually decide whether the final photo serves for two years or needs redoing in six months. The subjects who treat the session week as a project tend to love their final photos. The subjects who treat it as a Tuesday appointment tend to ask for a re-shoot within the year.